
Self-Host Umami Analytics With Docker Compose
How To Track Website Analytics And Respect Data Privacy With Umami
Introduction
Umami is an open-source, privacy-centric, and lightweight web analytics service built with JavaScript (NextJS) running in a NodeJS environment. It offers a fantastic alternative for those who want to be free from conventional analytics platforms that track your data and more importantly your visitors.
Another thing that makes Umami really special is its user-friendly design, making it the ideal choice for your self-hosting alternative to Google Analytics. In this tutorial, you will learn how to unleash Umami's potential in a straightforward setup using Docker Compose. There is no need for complicated configurations or complex processes because Umami is designed about simplicity to ensure an easy self-hosted experience.
Furthermore, Umami is open-source and grants you full visibility and control, allowing you to customize it according to your unique requirements.
If you think about analytics you are often concerned about privacy, aren't you? Luckily, Umami has got your back, prioritizing the protection of user data while delivering the analytics insights you desire.
Now, get ready to dive into this tutorial and learn how to set up Umami with Docker Compose. If you follow this and deploy it in your own cluster, you will not only have a privacy-focused analytics solution in your toolkit but also the satisfaction of being the master of your data.
Let's hope this tutorial empowers you to elevate your web analytics game with Umami – the go-to open-source option for privacy-conscious developers like yourself.
Prerequisites
This tutorial will deploy Umami either on a server running Docker (with Docker Compose) or within a server cluster utilizing Docker Swarm.
To deploy this the tutorial assumes that we already:
- have any kind of website to monitor
- have Docker and Docker Compose installed
- optionally have a server cluster utilizing Docker Swarm
- have a domain to publish the deployed Umami instance
Unfortunately, this tutorial will not show how to configure a domain with a TLS certificate because I normally use Traefik to automatically create SSL-secured domains based on configuration in the Compose file. Luckily, I have created several tutorials about how to set up your own Traefik Proxy on your server, or your server cluster:
On your single instance server using Docker:
On your server cluster using Docker Swarm:

Folder Structure
The first step is to create a folder that will contain all files needed to deploy Umami either on a single server or on a server cluster. The structure should look like this containing two files .env and docker-compose.yml.
umami/
|-- .env
|-- docker-compose.yml
The Environment File
Switch to the umami folder and create a new .env file containing the following snippet:
DATABASE_URL=postgresql://umami_user:umami_pass@db:5432/umami_db
DATABASE_TYPE=postgresql
HASH_SALT=generate_a_random_salt

POSTGRES_DB=umami_db
POSTGRES_USER=umami_user
POSTGRES_PASSWORD=umami_pass
In this snippet, we define the DATABASE_URL which Umami will use. As we can see it uses the same values as POSTGRES_DB, POSTGRES_USER, and POSTGRES_PASSWORD. Keep this in mind if you want to change it. Additionally, you should generate a random salt and put it into the HASH_SALT variable. To generate something just hit your keyboard or use this command:
openssl rand -base64 64Deploy Umami Using Compose For Single Instance Deployment
Now, we can create our Docker Compose file which will be used to deploy the service. As a starting point for our configuration, we can download the Compose file from Umami's GitHub repository which will get some modifications:
- We will remove the environment variables for the database because we extract them already into an
.envfile - We add Traefik configuration to use automatic TLS certificate generation for a URL
- We add
TRACKER_SCRIPT_NAMEto avoid getting blocked by Ad-Blocker
The resulting Compose file to deploy a single instance Docker using Traefik Proxy looks like:
version: '3.7'
services:
  umami:
    image: ghcr.io/umami-software/umami:postgresql-latest
    env_file: .env
    environment:
      TRACKER_SCRIPT_NAME: getinfo
      API_COLLECT_ENDPOINT: all
      APP_SECRET: replace-me-with-a-random-string
    labels:
      - traefik.enable=true
      - traefik.docker.network=traefik-public
      - traefik.constraint-label=traefik-public
      - traefik.http.routers.umami-http.rule=Host(`umami.${PRIMARY_DOMAIN}`)
      - traefik.http.routers.umami-http.entrypoints=http
      - traefik.http.routers.umami-http.middlewares=https-redirect
      - traefik.http.routers.umami-https.rule=Host(`umami.${PRIMARY_DOMAIN}`)
      - traefik.http.routers.umami-https.entrypoints=https
      - traefik.http.routers.umami-https.tls=true
      - traefik.http.routers.umami-https.tls.certresolver=le
      - traefik.http.services.umami.loadbalancer.server.port=3000
    networks:
      - default
      - traefik-public
    depends_on:
      - db
    restart: always
  db:
    image: postgres:15-alpine
    env_file: .env
    networks:
      - default
    volumes:
      - db:/var/lib/postgresql/data
    restart: always
volumes:
  db:
networks:
  traefik-public:
    external: true
  default:
    external: false
Some important information:
- In this Compose file, we added several
labelswhich are needed to deploy the service using a Traefik Proxy which is installed within our Docker environment like it was described in this tutorial:
- By adding
TRACKER_SCRIPT_NAMEwe can change the filename of the tracking script. This allows us to avoid being blocked by many ad blockers. I just called itgetinfoto have some very general name. This setting is totally optional but I recommend doing it. See this GitHub discussion for more information - The database container is not accessible from the public network and only communicates with the umami web container through the
dbnetwork umamiweb container is part of the external networktraefik-public(see previous post) and thedefaultnetwork to communicate with thedbcontainer.- All data is persisted within a named volume called
db
Run the Compose Services
After all files are created we have to define our PRIMARY_DOMAIN environment variable by exporting it:
export PRIMARY_DOMAIN=paulsblog.devThen, we can start the container by executing:
docker-compose up -dSwitch to https://umami.PRIMARY_DOMAIN and log in with the default credentials: admin:umami
To stop the container at any time we have to switch to the umami folder and execute the following:
docker-compose downDeploy Umami Using Compose For Docker Swarm Deployment
To set up Umami within a Docker Swarm environment we have to adjust the previously explained Docker Compose file by adding the deploy keyword. Additionally, we have to add placement constraints for the database service to guarantee that it is deployed on the correct server within the Docker Swarm cluster.
The resulting Docker Compose file will be:
version: '3.7'
services:
  umami:
    image: ghcr.io/umami-software/umami:postgresql-latest
    env_file: .env
    environment:
      TRACKER_SCRIPT_NAME: getinfo
      API_COLLECT_ENDPOINT: all
      APP_SECRET: replace-me-with-a-random-string
    deploy:
      labels:
        - traefik.enable=true
        - traefik.docker.network=traefik-public
        - traefik.constraint-label=traefik-public
        - traefik.http.routers.umami-http.rule=Host(`umami.${PRIMARY_DOMAIN}`)
        - traefik.http.routers.umami-http.entrypoints=http
        - traefik.http.routers.umami-http.middlewares=https-redirect
        - traefik.http.routers.umami-https.rule=Host(`umami.${PRIMARY_DOMAIN}`)
        - traefik.http.routers.umami-https.entrypoints=https
        - traefik.http.routers.umami-https.tls=true
        - traefik.http.routers.umami-https.tls.certresolver=le
        - traefik.http.services.umami.loadbalancer.server.port=3000
    networks:
      - default
      - traefik-public
    depends_on:
      - db
    restart: always
  db:
    image: postgres:15-alpine
    env_file: .env
    networks:
      - default
    deploy:
      placement:
        constraints:
          - node.labels.umami.db == true
    volumes:
      - db:/var/lib/postgresql/data
    restart: always
volumes:
  db:
networks:
  traefik-public:
    external: true
  default:
    external: false
In this file, we have moved all labels below the deploy keyword to enable Traefik configuration while utilizing a Docker Swarm environment. Furthermore, we have added the deploy keyword containing placement constraints in the db service:
    deploy:
      placement:
        constraints:
          - node.labels.umami.db == true
This constraint will ensure that the db service is always deployed on the worker node within the Docker Swarm which has the corresponding label. To set the label (if not already done) we have to execute the following command on the Docker Swarm Manager Node:
docker node update --label-add umami.db=true ID_OF_NODE_TO_USERun the Docker Swarm Stack
To deploy the service in our Docker Swarm we have to export the PRIMARY_DOMAIN by using export PRIMARY_DOMAIN=paulsblog.dev in our CLI and then execute:
docker-compose config | docker stack deploy -c - NAME_OF_STACKThis command will use the Compose config command to load the .env file settings into the Compose file before using docker stack deploy to deploy the stack in our Docker Swarm environment. Change NAME_OF_STACK to an appropriate name lime umami
To stop the stack use docker stack rm NAME_OF_STACK
Post Installation Tasks
Now, as our Umami instance is running we should log in and instantly change our Umami credentials from admin:umami to something more secure.
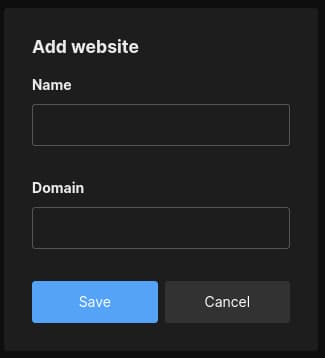
Then we use the Add Site button in the top right corner to add our website to track
Now, we can switch to Tracking code in the tab layout.

The tracking code looks like this:
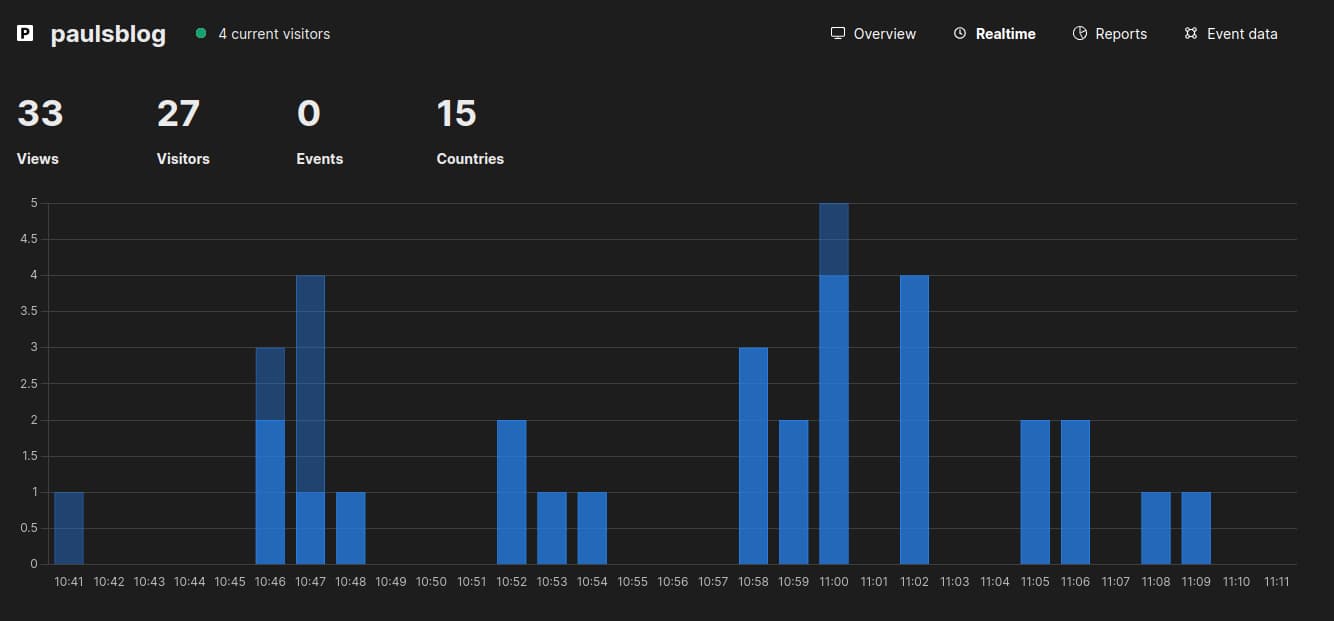
<script async src="https://umami.paulsblog.dev/getbooks" data-website-id="sd2dasa-5231-7h7f-9jj8-15ab565f8af9"></script>I would recommend adding the defer keyword to it and then insert it in the header section of your website. Afterward, tracking of our website will start and we can instantly see our visitors in the real-time view in Umami
Closing Notes
To sum up, Umami really impresses me with its straightforward approach to website analytics, particularly when compared with other self-hosted alternatives like Countly, which I had previously used and found to be overly bloated. Furthermore, one of Umami's standout features is its straightforward setup process using Docker, making it accessible even to those Developers less familiar with advanced technical concepts.
Another important aspect of Umami is its trustworthy option, prioritizing user data protection without sacrificing functionality. As a software developer, it is paramount to understand that selecting analytics tools that not only provide valuable insights but also prioritize the security and privacy of user information is mandatory. By choosing Umami, we can ensure that our analytics remain both effective and ethically correct in today's digital landscape.
Do you have any questions regarding this tutorial? I would love to hear your thoughts and answer your questions. Please share everything in the comments.
Feel free to connect with me on Medium, LinkedIn, Twitter, and GitHub.
Thank you for reading, and happy analyzing your data!
🙌 Support this content
If you like this content, please consider supporting me. You can share it on social media, buy me a coffee, or become a paid member. Any support helps.
See the contribute page for all (free or paid) ways to say thank you!
Thanks! 🥰